DIY – Lighted Monogram
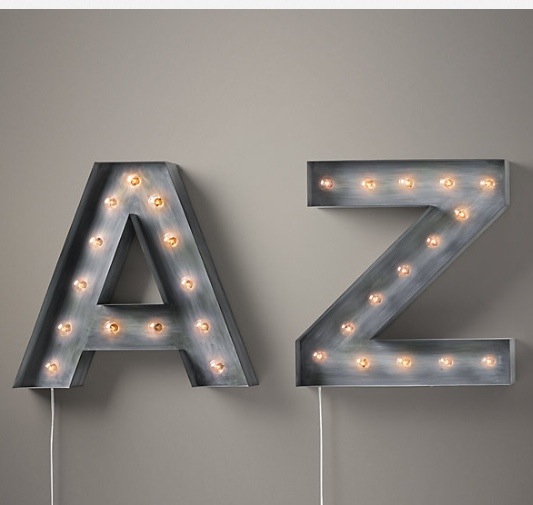
Recently, I came across some really cool illuminated letters on Restoration Hardware’s website:
 via Restoration Hardware
I thought this would be a very cool addition to my teenage daughter’s room but the hefty price tag for each letter was wayyyy more than I wanted to spend.
Enter pinterest! I found this great tutorial and adapted it to what I could do, crafty speaking.
First, I purchased some cardboard craft letters for my daughter’s room. I bought them at a local craft store, using 50% off coupons.

I also picked up some metallic gray paint while I was there:

I bought 4 strands of battery operated lights.
I cut out the back of the letters and painted the fronts. Then, using bits of paper, I marked where I wanted to put the holes for the lights. I used an exacto knife and a pencil to make the hole:

Finally, I added the lights:

And this is how the monogram looks in my daughter’s room:

We’re both really happy with the results. And I’m really happy with the cost, about $50 for all three letters with my sale and discounted items. 